(YBR members can view a Facebook post from our very first visit back in September; this first trip was the inspiration for starting the group and this Website.)
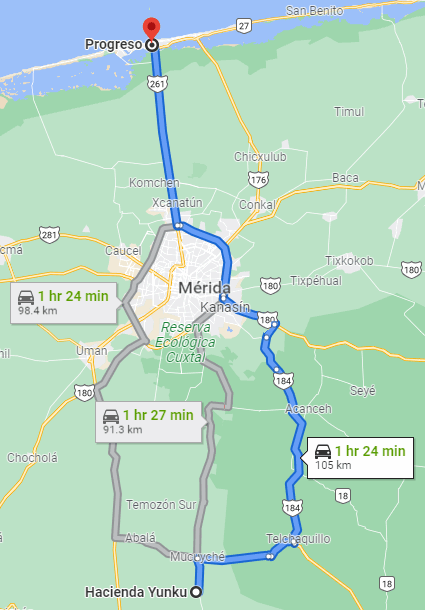
We finally got a weekend to return to the village of Yunkú and it’s beautifully restored hacienda. The folks at Camino del Mayab announced last week that besides their 120 kilometer hike/bike/drive route around the back roads and trails south of Merida, they are now creating short loop trips for quick day trips. The very first one starts and ends at the hacienda, so decided to follow it. This map is based on the one from their Facebook post:

To get the most out of this trail, do two things:
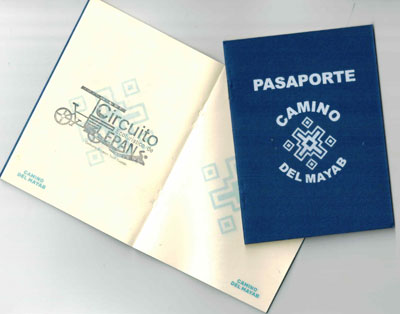 If you’ve not registered with Camino del Mayab and picked up your Pasaporte, check their Website on how to do it. Your MX$500 fee gets you the little Pasaporte book (to collect your stamps), their trail app, and emergency accident assistance and insurance (which is especially important if you are not a MX Resident, since your home insurance may not cover you here).
- If you ARE registered with CdM, then WhatsApp them to let them know you’re coming, so your insurance will be activated.
- WhatsApp Hacienda Manager Miguel Mendez at 999-163-3467 so they know you’re coming. Although you do not need to enter the hacienda to do the trail, it’s a great place to have lunch and enjoy after your walk. Secure parking for your car, too.
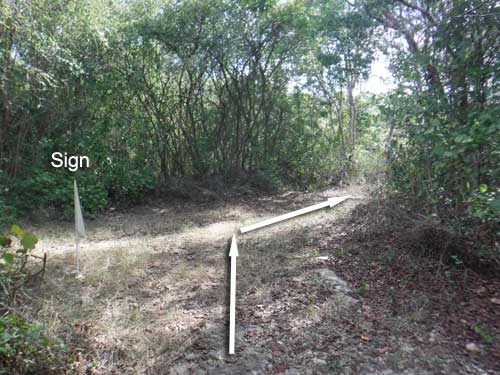
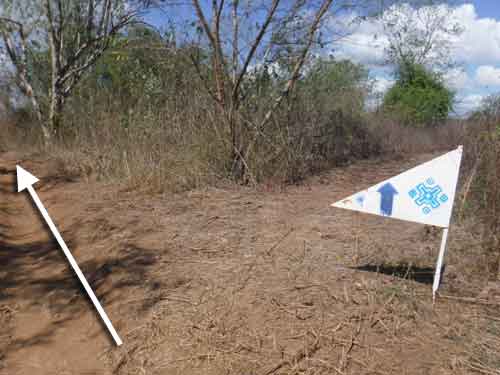 The trail is about 4km (2.5mi). You start from the village just east of the Hacienda gates, walking north maybe 30 meters past a yellow building and turning left up a dirt road. (It’s easy to see the hacienda wall; just follow that around.) Follow the road a few minutes and you’ll see a white triangular sign with the Camino logo on it and a blue arrow pointing north.
That’s the thru route for the Camino, but do NOT make that right turn! Go straight instead, heading west.
You’ll You’ll be alternating between a “two tire tracks” road and thin but well-packed trail to its left. As the trail merges in and out, stay on the trail (until you get to the sharp left turn below).
(We took the road section at one stretch, and missed the Aguadas and the remains of the train station that you see on the map above. Next time!)
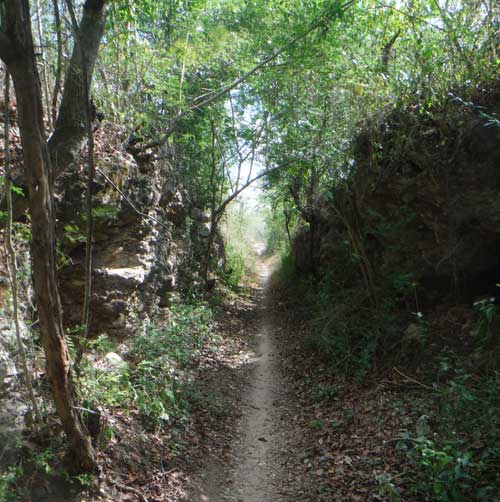 You’ll find yourself walking thru limestone “canyons” that rise 3 meters either side of you. These were cut by the hacienda owners for their little iron rail cars that were pulled by animals to carry the henequen from the fields. It was important to make these passages as level as possible.
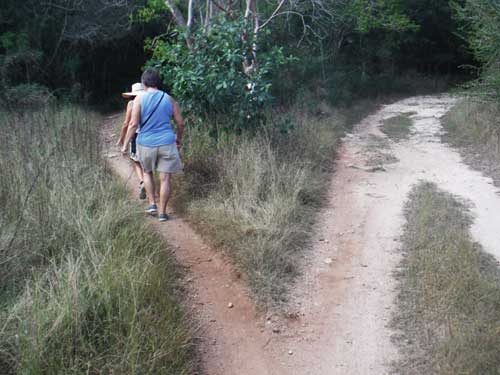
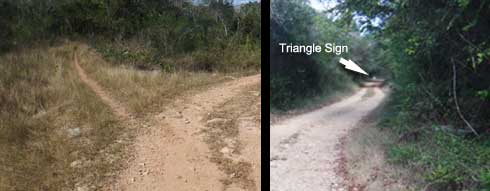
You’ll reach a place where the road cuts sharply left while the narrow trail goes straight west. Follow that left turn and walk north. (To know this is the right one, just look up–you’ll see another white triangle sign ahead of you.) These two photos show you what that looks like:
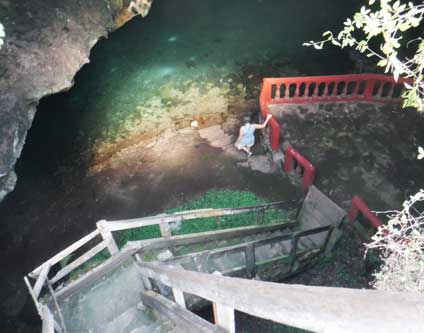 That white sign is at the Cenote Yunkú, aka Cenote San Marcos. When we visited there was not a soul there. The entrance was open and we walked down to explore. These stairs are very solid concrete, and VERY steep! (If you’ve go short legs, this won’t be easy.) There is a concrete platform at the bottom and steps into the water.
You’ll see some beautiful calcium formations here, like the huge “ceiba tree” formation at Balankanche near Chichen Itza. This does not have the grandeur of that one, but is still fascinating.
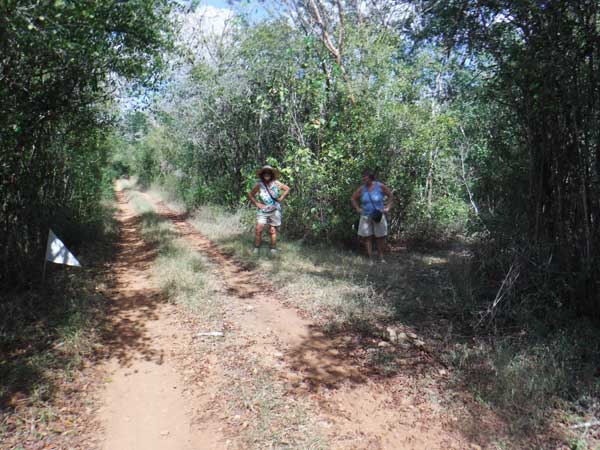
Continue north a few minutes to the first packed-earth trail going off to the right. You’ll see another white sign marking the turn.
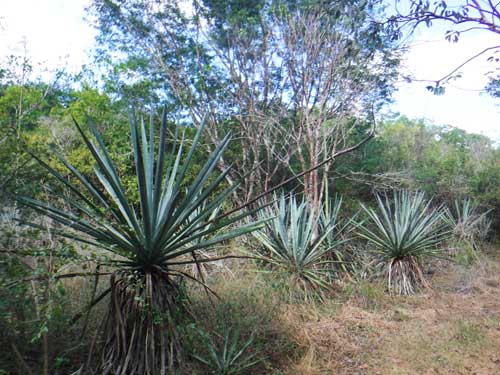
As you hike the trail back to the east, you’ll see some big agave plants scattered through the trees. You’re walking through the plantation itself now; these plants are descendants of the original ones planted by the hacienda workers.
You’ll reach a junction with a white triangle. If you turn left here, you’re heading up the main Camino del Mayab trail! But we want to go south, back to Yunkú, so turn right.
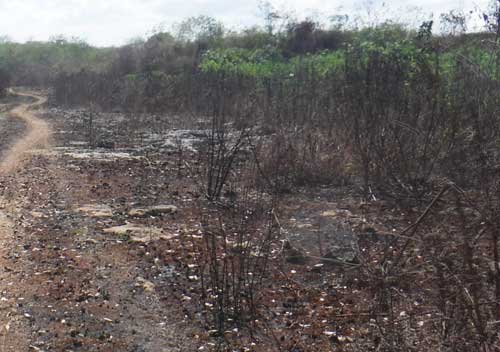
When we walked this section, it had been recently burned, so was not very scenic. But it is only about 10 minutes before you find yourself back at that first white sign–the one we bypassed the first time. You’ll turn left here, heading back to the village.
Inside the Hacienda
 Ring the bell (a button on the column at the right side of the gate) and the friendly staff will let you in; there’s a good chance it will be one of the bilingual managers, Carlos or Miguel.
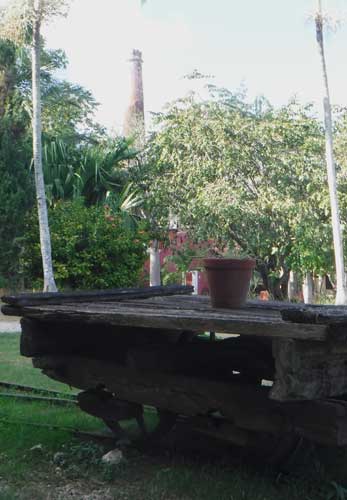
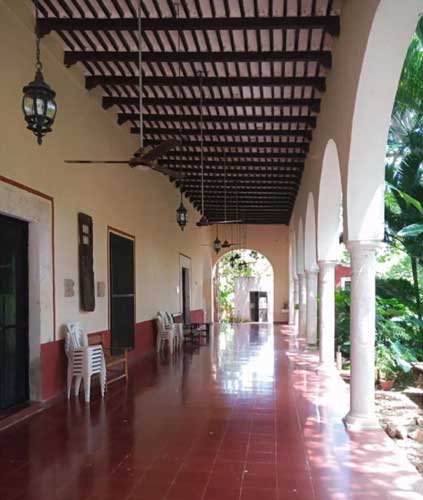
You’re in a big open area, with lots of trees. (The plan is to change the main entrance to the bigger gate off to the right from this photo, which would have been the case in its heyday.) The ubiquitous hacienda chimney is in the background.
The main buildings come from different eras. The oldest go back to when this was a cattle hacienda, and the imposing building housing the restaurant and two of the finest suites was the stable! The buildings by the chimney were built much later and housed the henequen processing factory.
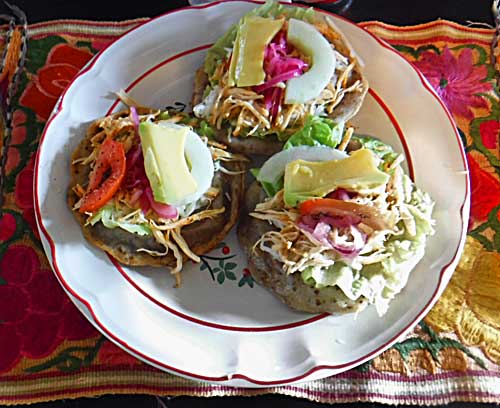
Lunch is classic Yucatecan, with choices like panuchos (fresh and tasty, shown here), poc chuc and papadzules. Lunch for three of us, including three drinks, was about 500 pesos.
Let’s look at some photos!
This is the back of the main restaurant/suites building 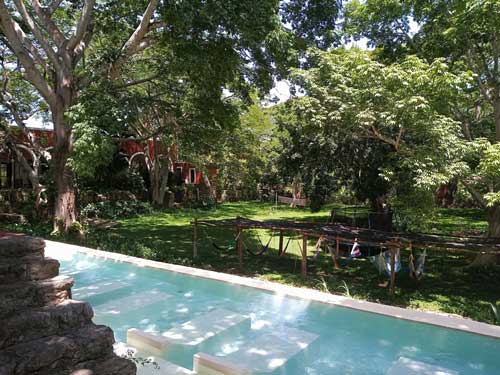
This back area is all shaded, has a trampoline and hammocks. It was the old corral! 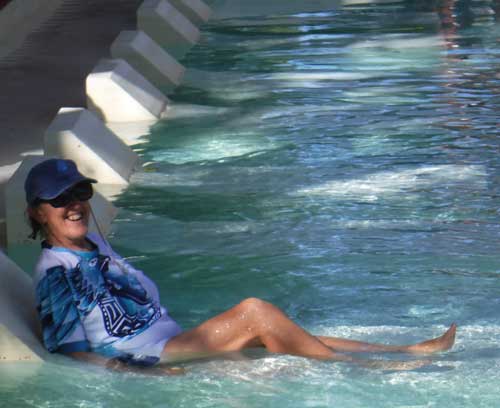
The smaller of the two pools is shallow and has built-in loungers 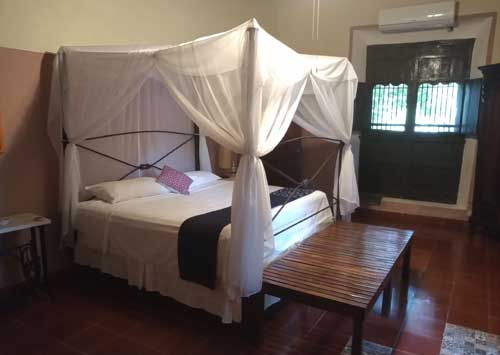
The PATRON suite, a deluxe accommodation 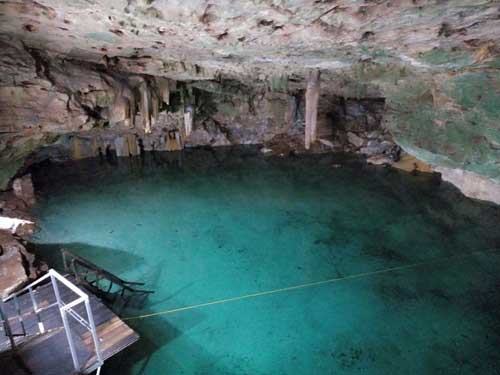
The real gem is the cenote, which is UNDER the swimming pools 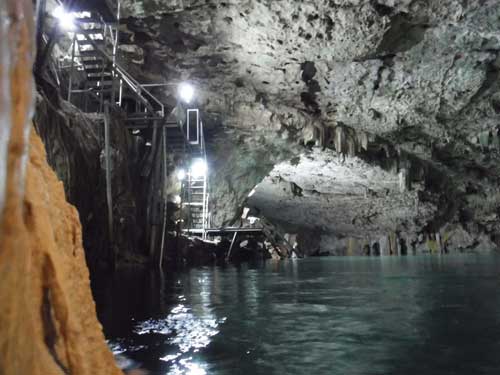
You enter thru a steel stairway. A screen door keeps birds and bats away, helping to keep the water clean 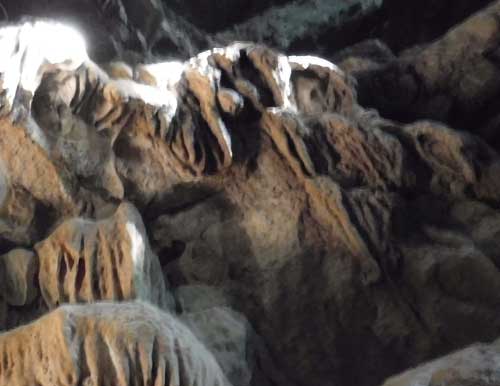
A closeup of some of the limestone fomrmations 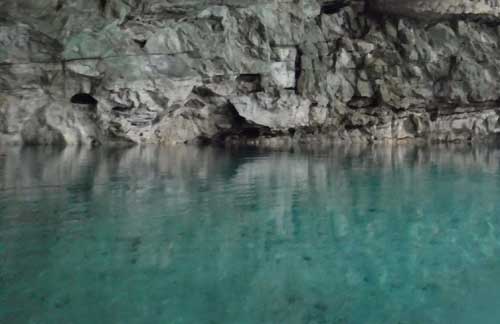
First cenote we’ve seen with a smooth sand bottom
There are some smaller rooms, plus two Maya hut casitas, each with its own small dipping pool out back. Prices per night (as of early December 2021) range from MX$3100 to MX$3900 including breakfast.
It was a great day! And we were surprised to find the drive home took only about 90 minutes!
For information on Hacienda Santo Domingo de Yunku, visit their Facebook page.
Find lots of information on all the areas along the Camino del Mayab route on their Website.